
Obtenez les dernières nouvelles du monde du voyage.
Découvrez les tendances les plus récentes en matière de tourisme et ne manquez aucun événement important grâce à Nickel code, votre destination ultime pour les mises à jour et nouvelles du voyage.
Explorez des destinations de voyage uniques.
Découvrez les secrets et joyaux cachés des destinations de voyage du monde entier grâce à notre expertise et nos conseils avisés.
Faites confiance à Nickel code pour votre assurance voyage.
Soyez assuré en toute tranquillité lors de vos voyages en choisissant nos services d’assurance voyage de qualité supérieure.
Exploration de la beauté du voyage
Rejoignez-nous dans notre aventure
Partez à la découverte des merveilles du monde entier et restez informé grâce à nos mises à jour régulières dans le domaine du tourisme.
Notre site est dédié à fournir les dernières informations sur les destinations de voyage, les événements locaux et les tendances du tourisme.
Notre engagement en tant que Nickel code
Nous sommes dédiés à fournir à nos lecteurs les dernières informations sur les destinations de voyage, les événements locaux et les tendances en matière de tourisme. Que vous planifiez vos prochaines vacances ou que vous cherchez simplement de l’inspiration, Nickel code est votre ressource incontournable pour tout ce qui concerne le tourisme.
Suivez-nous pour rester à jour sur les dernières tendances en matière de tourisme
Offrir un contenu approfondi
À Nickel Code, nous sommes dédiés à fournir le contenu le plus complet pour aider les voyageurs à prendre des décisions éclairées et à découvrir des joyaux cachés à travers le monde.
Découvrez le monde avec nous
Rejoignez-nous!
Ne manquez pas nos dernières mises à jour et offres de voyage
Découvrez des destinations insolites à travers le monde.
Rejoignez-nous dans notre quête pour dénicher des trésors cachés aux quatre coins du globe.
Destinations variées
Nous vous présentons une sélection éclectique de destinations pour tous les goûts.
Expériences authentiques
Imprégniez-vous de cultures différentes et vivez des expériences inoubliables en voyageant avec nous.
Détente et enrichissement
Découvrez de nouveaux horizons tout en vous relaxant, en apprenant ou en vous amusant.
Souvenirs mémorables
Laissez-nous vous guider vers des endroits incroyables et créez des souvenirs durables lors de vos voyages.
Les dernières tendances en matière de tourisme et de choix de destinations
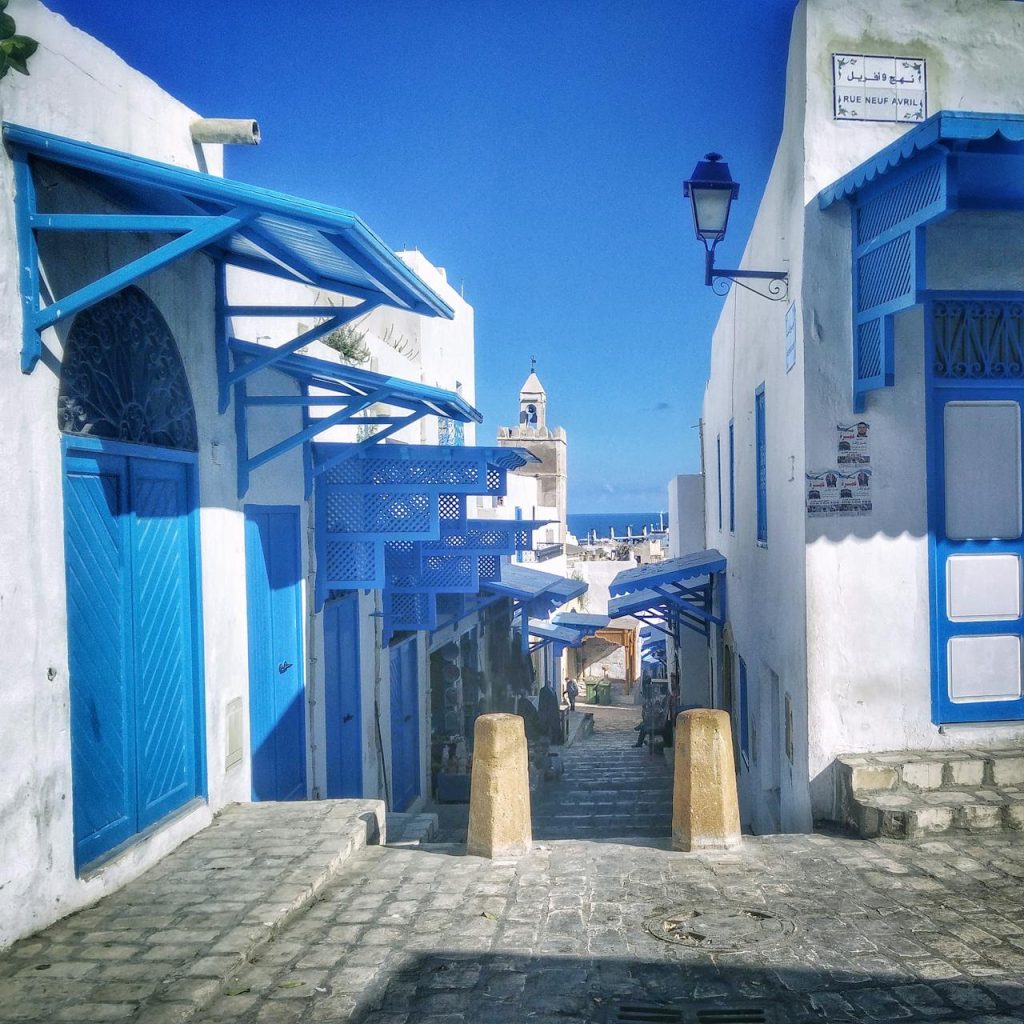
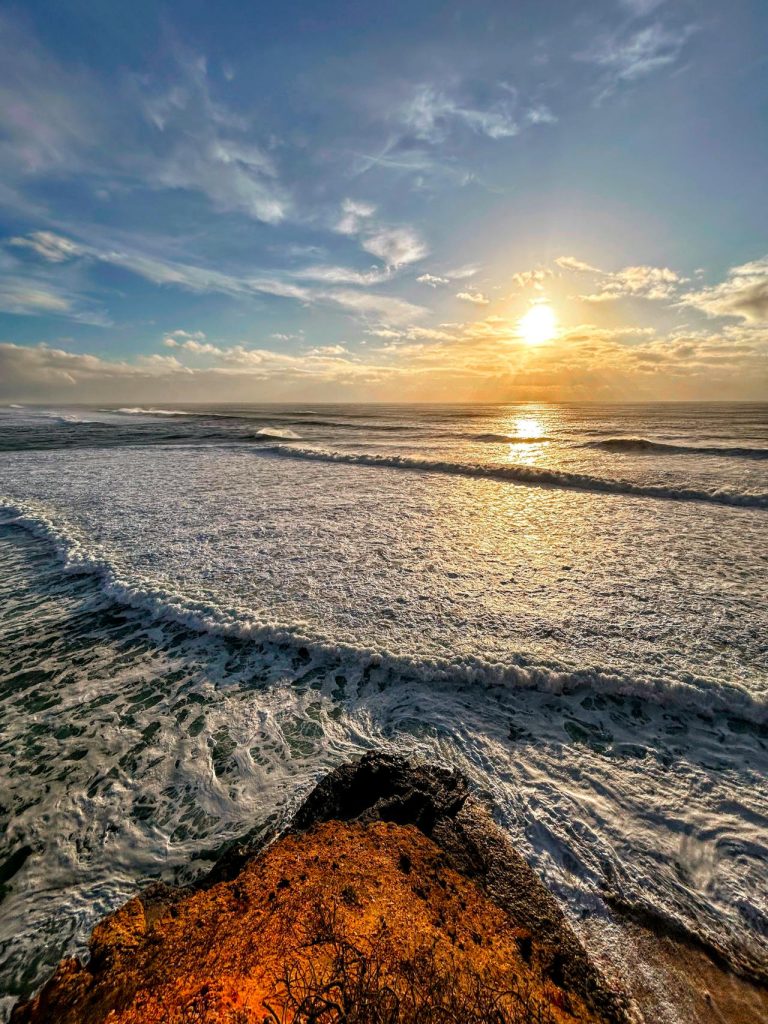
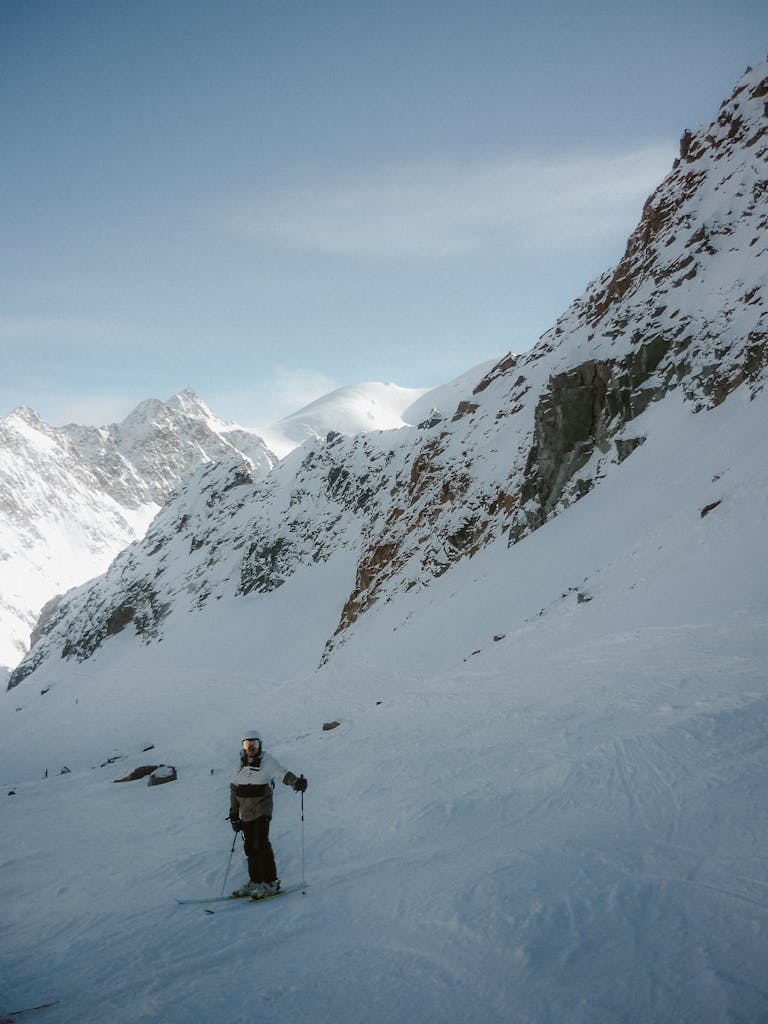
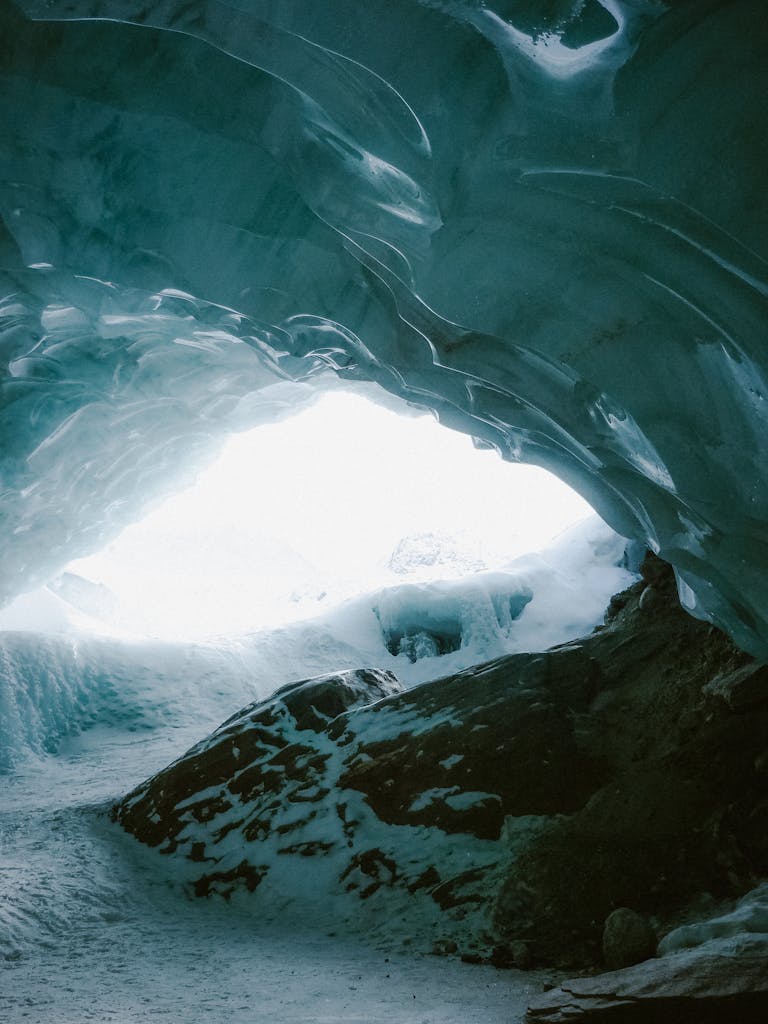
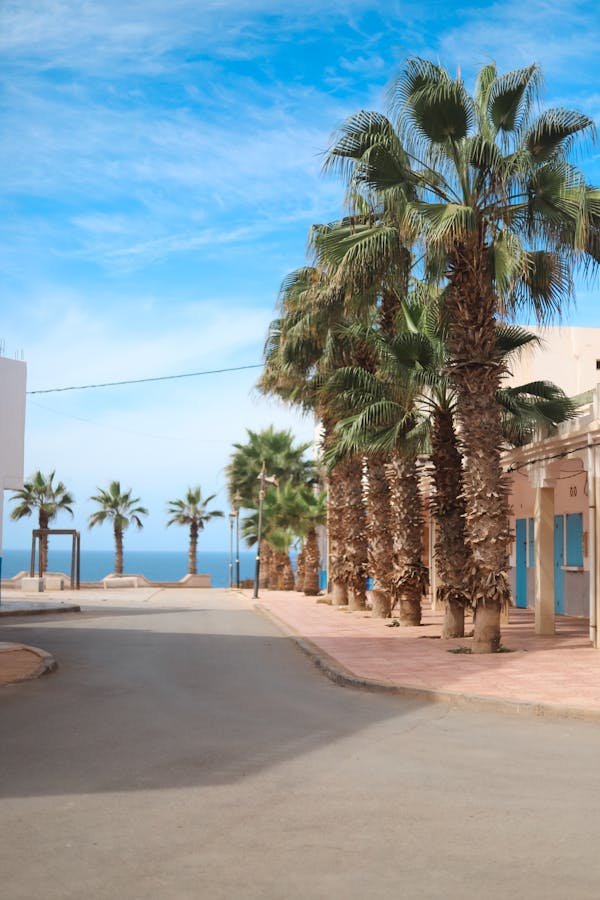
Galerie de photos
Rejoignez-nous pour explorer la beauté des destinations de voyage à travers notre galerie de photos époustouflantes.


Articles récents
Découvrez les dernières nouvelles et mises à jour dans le monde du tourisme avec nos articles récents.

Restaurant la mandarine à saint-tropez : saveurs méditerranéennes d’exception
Au cœur de Saint-Tropez, La Mandarine mêle élégance gourmande[…]

Trouver un train paris lyon pas cher : nos conseils pratiques
Trouver un train pas cher entre Paris et Lyon[…]

Découvrez l’afrique du sud : un voyage personnalisé inoubliable
L’Afrique du Sud vous attend avec ses paysages à[…]
Visites culturelles lors de vacances à la campagne
Découvrir la France Rurale : Visites Culturelles Lors de[…]
Festivals et événements à ne pas manquer en Aquitaine
Présentation des festivals en Aquitaine Les festivals en Aquitaine[…]
Guide des meilleurs hôtels et hébergements en Normandie
Meilleurs hôtels à Caen À Caen, les hôtels sont[…]
Comment le tourisme durable influe sur l’immobilier local ?
Impact économique du tourisme durable sur l’immobilier local Le[…]
5 choses à vérifier avant d’acheter un guide de voyage pas cher
La crédibilité de l’auteur Lorsqu’il s’agit de choisir un[…]
Tour du monde en 80 jours : est-ce possible avec un forfait touristique économique ?
Introduction au concept de voyage autour du monde en[…]
5 hôtels de luxe pour un séjour bien-être en Europe
Présentation des meilleurs hôtels de luxe en Europe pour[…]
Voyager en vélo : guide du cyclotourisme
Introduction au cyclotourisme Le cyclotourisme est une façon unique[…]
Échange de maisons : une nouvelle forme d’hébergement touristique
Comprendre l’échange de maisons L’échange de maisons est une[…]
Échappées bucoliques : découvrez les incontournables du tourisme rural
Les destinations incontournables du tourisme rural Découvrir les destinations[…]
Location d’appartement en ville : quels sont les équipements indispensables ?
Équipements de transport L’accès au transport public est crucial[…]
Les plus impressionnants Parcs Nationaux d’Afrique
Les caractéristiques des parcs nationaux africains Les parcs nationaux[…]
Location à la campagne : le choix de l’autonomie pour vos vacances
Types d’hébergements en milieu rural Les locations rurales offrent[…]
Louer une maison de vacances en Italie : Ce que vous devez savoir
Comprendre le marché locatif en Italie La popularité croissante[…]
Croisière à la découverte des trésors cachés de Saint-Pétersbourg
Présentation de la croisière à Saint-Pétersbourg Une croisière à[…]
Critique de cabine : expérience de première main en croisière
Présentation de la cabine Lorsque l’on parle de cabines[…]